Build Instructions, Part 1 - The Front & Rear End (the windows).
- Mar 16, 2017
- 2 min read
You will need the following tools & hardware for this
- a Dremel with a cutting wheel or a saw
- a drill with a 4mm bit ( a Dremel would do also)
- 1 inch pvc pipe, (usually available in 2 metre lengths)
- 8 x 1inch pvc pipe T-joints
- 8 x 1inch right-angled pvc pipe joints
- a BMX grips of your choice (good place to look: http://www.chainreactioncycles.com/ie/en/odi-longneck-xl-grips/rp-prod74835)
1. Making the shape

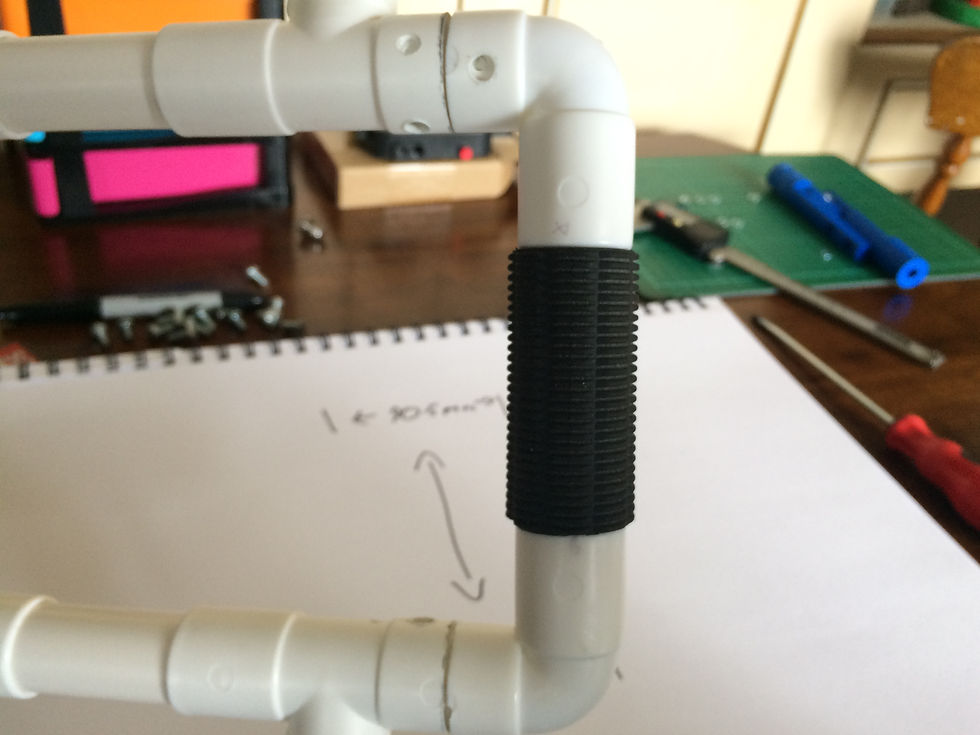
You can make this almost any shape or size you want, the only restriction you Must follow is that the length of pipe between the two T-Joints MUST be 90.5mm wide or slightly less on the top and on the bottom. This is to ensure that your 3D printed grip piece in lesson 3 will fit your steadicam perfectly!
2. filling in the gaps

The rest of the measurements are up to you. cut the pipe to your desired length to determine the height or the width of the front and rear ends. You could also cut some length off the joints too if you wanted. But always leave at least a half inch.

A good idea for you might be to make a front and rear window that you can easily slide your camera in and out of.
3. Reapeat at the other Side

Do this process one more time for the opposite side. Remember the same rule applies for the length of pipe between the T-Joints at the back too!.
For mine I decided to make my back (white part) end a bit more narrow than in the front(black part).
4. (Optional Grips)

Grips are a really nice addition to this project. They give the steadicam really nice and comfortable as if it is an extension of your body.
I used these grips that I used on my own bike in the past and cut them to size for the steadicam. However I think they are no longer being made.
Here are an alternative pair that feel even better than my own.
You can buy them in all the colours of the rainbow! One pair should do you but if you make a big steadicam, buy two pairs just in case.
Once you have completed this you are ready for Build Instructions, Part 2.


Comments