Build Instructions Part 3 - Putting it all Together
- Mar 25, 2017
- 3 min read
Some of the tools/hardware you will need are;
- 2 x 3D printed Grip pieces, Link: (http://www.thingiverse.com/thing:2210489 )
- a drill with a 4mm bit (or Dremel)
- a Dremel with a cutting wheel
- m4 bolts, washers & nuts
- 2x m3 nuts and bolts
- lengths of pvc pipe
- left over pvc pipe cutoffs
- a heat gun or hair dryer
- bike grips ( optional)
- A hot glue gun (optional)
- super glue (optional)
- a ruler/measuring tape
If you have got this far then all you have is the top of the steadicam. You should have two 3D printed Grip pieces printed from the source above
1. Joining at the top - Option 1

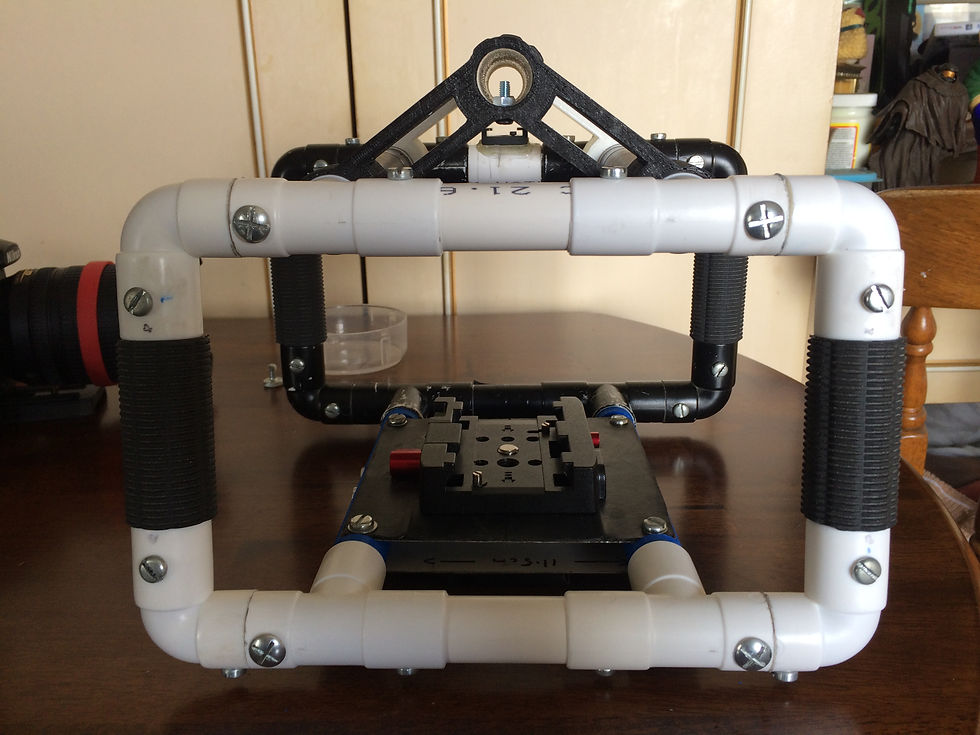
Here you have two options. You can leave the top two connecting pipes (black) between the front and back windows the exact same size (around 20cm) as the bottom base pieces(blue) to have a a very boxy-shaped steadicam
Option 2

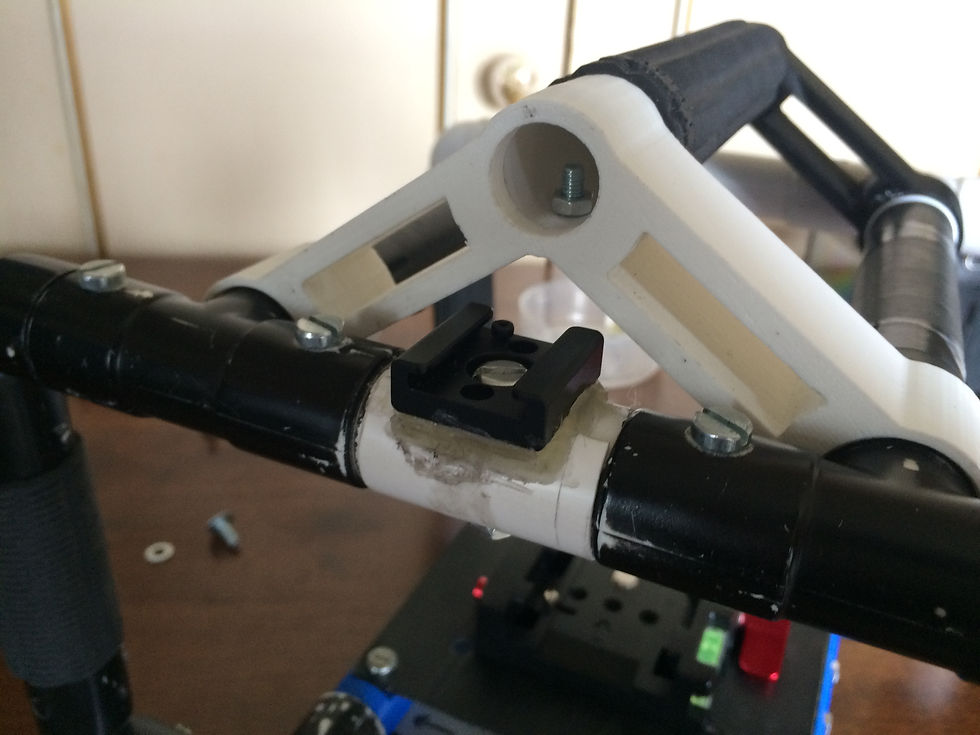
The second option would be to shorten the length of the top connecting pipes to give the rear end a slanted-in look. (I personally went with this one)
I did this by shortening the top two black pipes as picture above down to 18cm in length
2. Fitting the Grip pieces

If your 3D printed grip pieces are a very tight fit to get onto the T-Joints, DON'T FORCE THEM ON! you will never get them off our you will break the print trying. Sanding parts down to fit is not recommend either because taking away material away makes it weaker.
If it Gets Stuck or Jammed?

You can use a heat gun to slightly stretch the circumference of the socket holes in the grip piece. Place point the heat gun at the one of the circular holes in the 3D print (from about 3 - 4 inches away) and slowly heat up around the hole until you begin to see it sag just a little bit. Then slide the the heated part over the perpendicular end of the T-joint. It should slide right on. Leave it there to cool and after a minute or two, it should be able to slide on and off much easier. Repeat these steps for any other fitment issues.
3. Attaching the Grip handle.

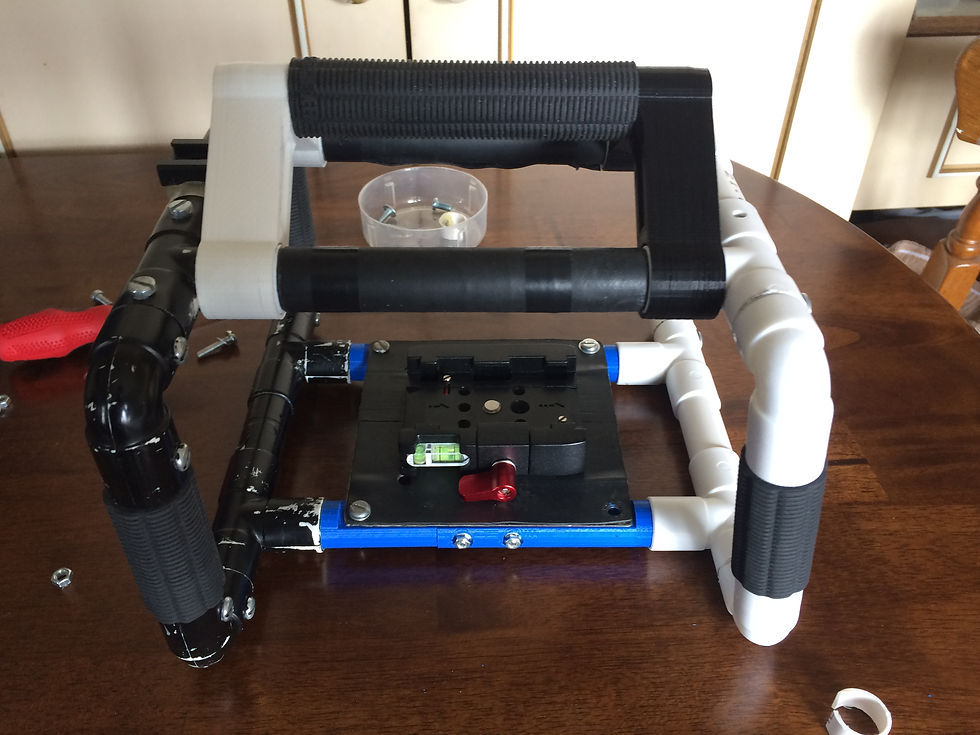
The grip handle will be 1cm shorter than the length of the two pvc pipes that connect the front and back windows of the steadicam. Test fit the handle by slotting a 3D printed grip piece on at each end of the handle and then sliding that into your steadicam. It should look something like this.
If the handle looks like its squashed or like it is flexing it may be caused by the handle being too long. Just shave off some length at one of the ends with the Dremel.

Once it is the right size, drill a hole at the bottom of each 3D printed grip piece and into the grip handle and put a nut and bolt through them both to prevent the grip from rotating. It is also recommended that you use a smaller nut and bold here to prevent cracking or fracturing in the 3D print.
4. Tightening Things Up
finally the best part is kept for last. But here again is two options.
Option 1 - Superglue
You can superglue all of the joints if you want. However you will never be able to break it down or switch out parts that break. You might even get the odd search by airport security!

Option 2 - More Nuts and bolts
You could put nuts and bolts in wherever you find it necessary to kept it together and maintain modularity. It will also make transport easy and you easily replace parts if they get broken.

Here you could used self-tapping screws, or nuts & bolts.
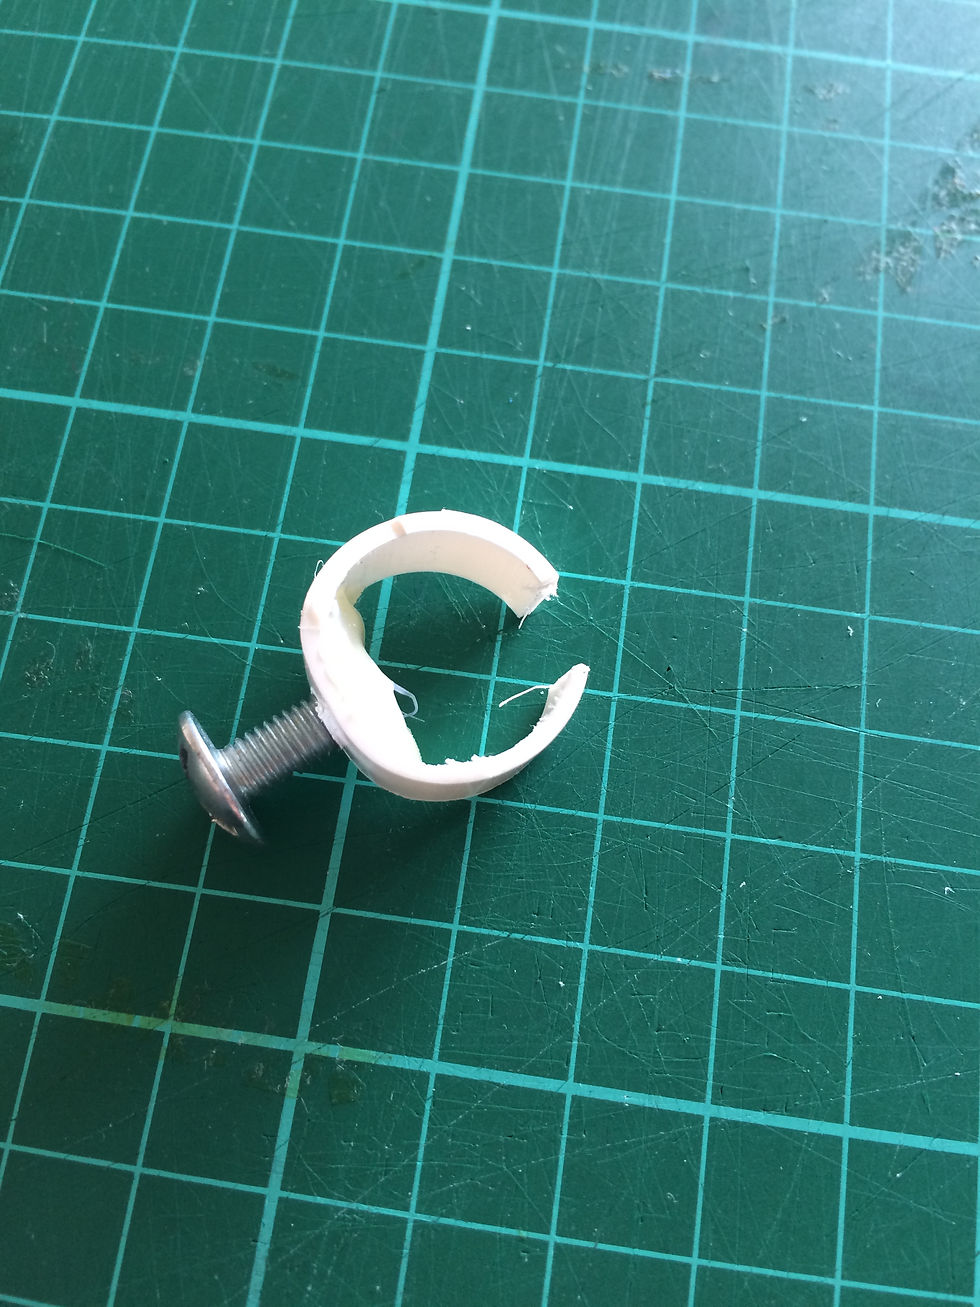
The way i did it was using cutoff pvc pipe to cut out a wedge, drill a hole, hot glue a nut inside and stick the whole thing inside the pipe where I matched up the hole and put the bolt in.
If you have followed all of these steps then you are DONE! If there is any problems you can email me at the address listed on my blog. And if not then I hope you enjoy using your new steadicam! its from here out you do what you want and make it your own.


Comments